Congratulations! Your requested command was performed successfully ! Wait 10 minutes to see the modifications on all the pages of the website (due to the cache system)
How to make a Rust server ? (2018)
Published on 2018-02-14
This tutorial was created to help players who want to make their own Rust server for the purpose of playing with friends or just trying out the admin commands.
We have prepared a 2018 package to quickly host your server on your computer locally. Follow our step by step guide, it will take you about 10 minutes.
Before starting a Rust server make sure your computer will be able to.
Hardware System Requirements
Windows (7, 8.1 or 10) 64-bit
RAM 4GB (minimum), 8GB+ (recommended)
Available Hard Drive Space 6GB (minimum)
Rust server setup
1) Preparing the Rust_server folder
Rust_server.zip is an all-in-one pack that will save you time.
Unzip the file to your desktop or other (with software like WinRAR)
Right-click on the Run_DS.bat file and open with a Notepad editor
Replace My Server Name with our desired name and save the file
2) Server installation
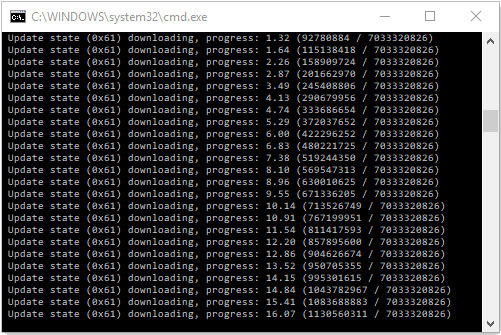
Double-click on the Run_DS.bat file, a console (cmd.exe) will open. Wait while installing the server, this step may take 5 to 10 minutes.
The process will download and install all necessary components.
A Firewall dialog box may open and ask you to allow or not to communicate with "rustdedicated", you must allow !
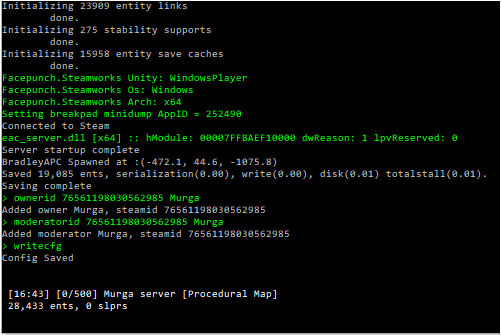
The server is ready when you get the server startup complete message in the console.
3) Finalization
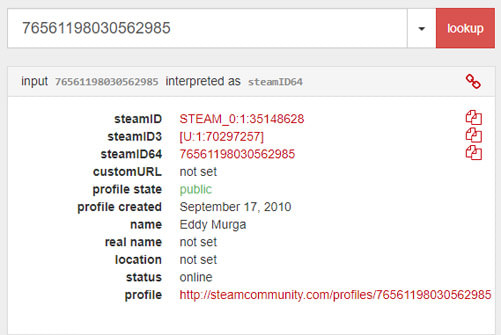
In order for you to become an administrator of your server you must enter your steamID in the console followed by your nickname (you can enter the nickname you want, this is not important).
If you do not know your steamID follow the steps below:
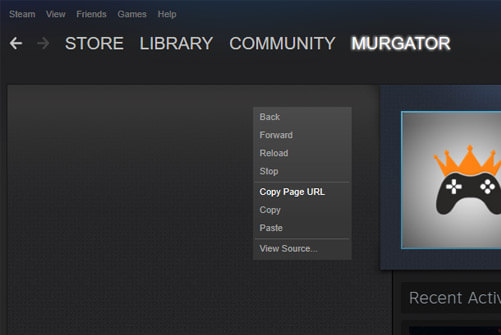
Right click in the blank on your STEAM profile page and click on "Copy Page URL"
Hosting a Rust server requires a lot of resources to your computer, especially if your server has more than 10 players.
If you want a public server with many slots, we advise you to rent a Rust server from a professional host such as Gameserver (see link to our footer).
Make your Rust server famous
That your server works is good, but it is even better if it is full of players ! Please note that we are specialized in ranking Rust servers and you can register yours for free on our Rust servers list.


 EN
EN  DE
DE ES
ES FR
FR NL
NL